Create an Ory Cloud Project
This guide describes the practical steps to create an Ory Cloud Project. If you want to learn more about Ory Cloud Projects, please visit the concepts documentation.
Set up Ory account
If you haven't already, sign up at Ory Cloud Console: console.ory.sh
Create your first Ory Cloud Project
When you first sign up to Ory Cloud, you will be prompted to create a project.
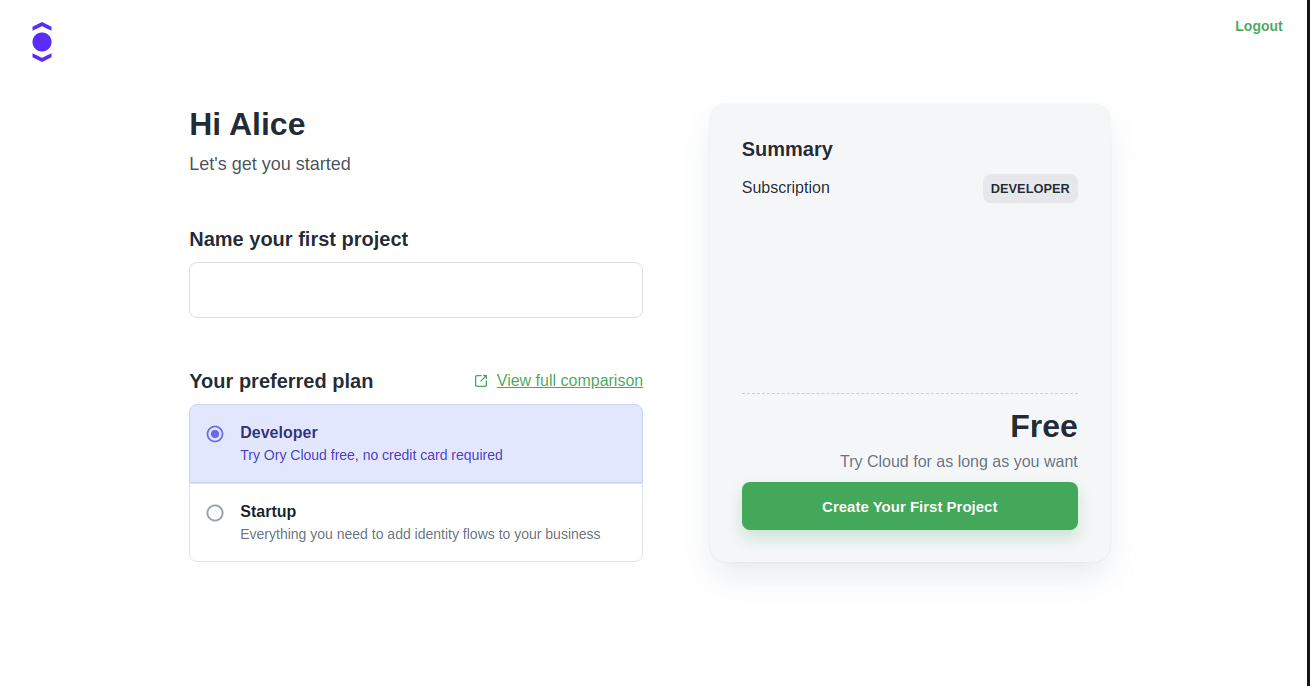
Enter a project name to identify the project with. This name is only visible in the Ory Cloud Console.
Choose your desired plan. You can update your plan at any time from your subscriptions page.
Next, hit "Create Your First Project" and fill out the details on the checkout page in case you're opting for a paid plan. Your project should come alive shortly after!
Creating additional projects
Your Ory Cloud account isn't limited to a single project. You can create as many as you like, and each project can have its own subscription.
To create another project after your first, locate the "Create Project" button at the bottom of the Console's navigation menu:
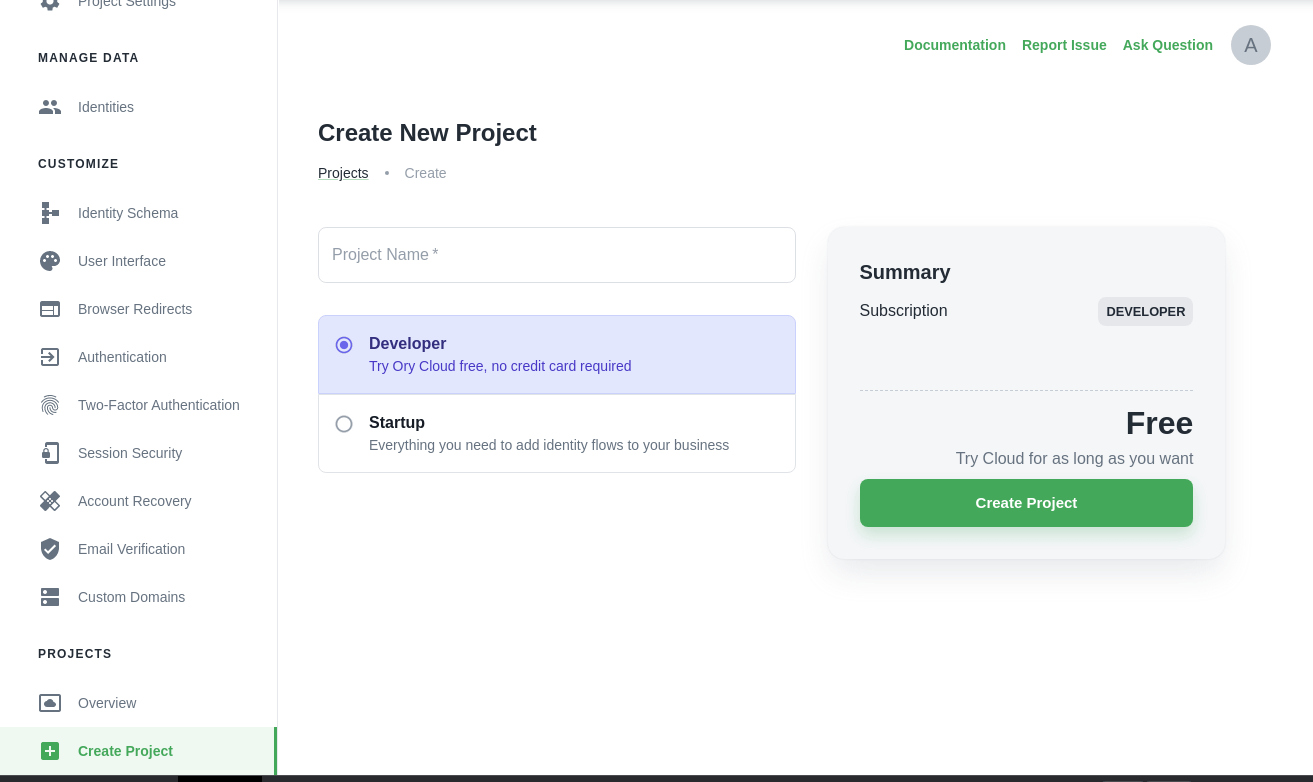
This screen is more of the same - enter a project name, pick your desired plan, and your project will be created shortly!
Create Personal Access Token
Note that a personal access token is required to access administrative APIs (for example deleting an identity, using the Ory CLI, ...). Personal Access Tokens are bound to a project.
Head over to the Personal Access Tokens concept documentation to learn more.
What's next?
You created your first Ory Cloud Project. Now it's time to follow the next steps!
Or if you want to learn more about Ory Cloud Projects, head to the concepts documentation.